Getting started
Installation
On Windows using WSL (Windows Subsystem for Linux)
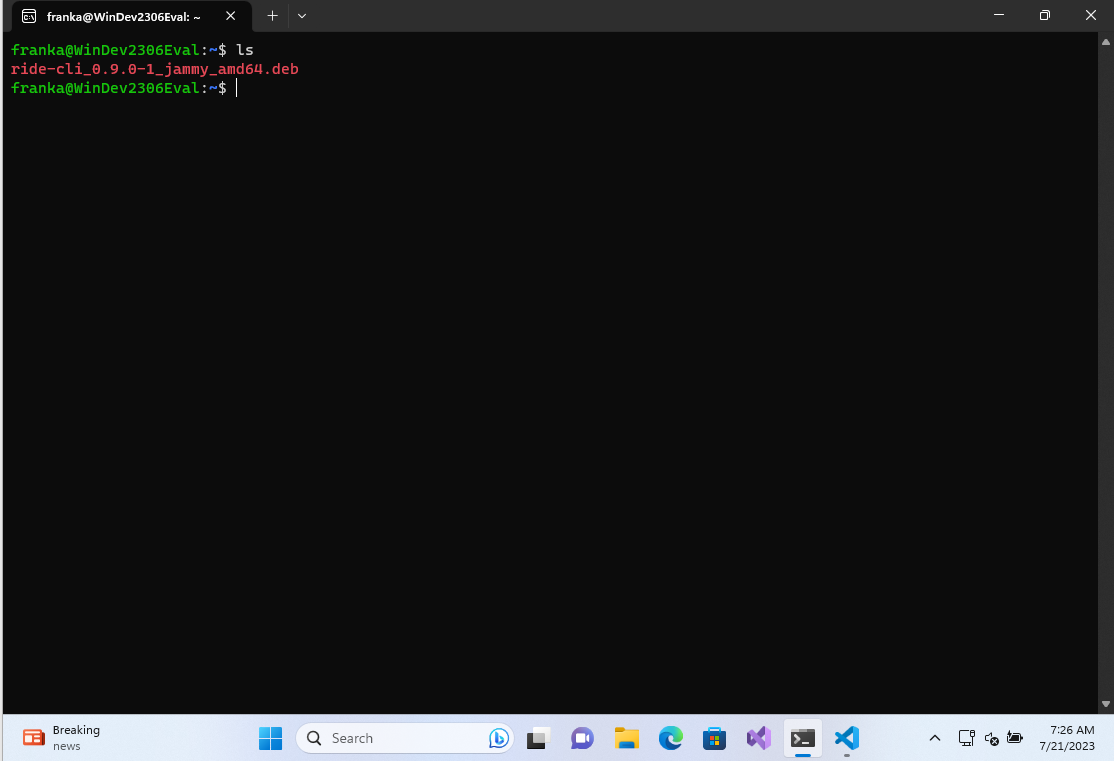
At present, we do not offer a ride-cli executable that directly runs on Windows. Alternatively, you can leverage the built-in WSL (Windows Subsystem for Linux) feature. You can activate and install Ubuntu on Windows 10 or 11 by following the official Ubuntu tutorial. We recommend that you install Ubuntu 22.04 for this purpose. Once you have done this, you will have a setup like the one shown below:
Now that you have installed Ubuntu on your Windows system through WSL, the next step is to install ride-cli. To do this, please follow the instructions provided in the next section. We recommend using the ride-cli Debian package installation instructions.
On Ubuntu systems
The latest version of ride-cli can be downloaded from the Franka World Resources page. There are two different methods to configure ride-cli on your system.
ride-cli Debian package
The recommended method to use ride-cli is to use the Debian packages created for different Ubuntu versions. Before continuing make sure that you have installed the required dependencies:
sudo apt install libsodium-dev libssl-dev libgmp-dev zlib1g
To check which Ubuntu version you are running on, execute lsb_release -a. Then select
the correct ride-cli Debian package and install it e.g. for Ubuntu 22.04 like the following:
sudo dpkg -i ride-cli_1.1.1-1_jammy_amd64.deb
ride-cli is now ready to be used. To check if the installation worked, you can enter:
ride --version
1.1.1
To see the available commands enter:
ride --help
ride-cli AppImage
The ride-cli AppImage already includes all required libraries and can be used on any Linux based system out-of-the-box. This method does not require sudo rights on the system! The AppImage can be used as follows:
./ride-1.1.1-x86_64-jammy.AppImage login robot.franka.de
More information on possibilities to store the AppImage on your system can be found here.
Creating a simple bundle
Now we will create our first bundle, containing a state machine that simply prints "Hello World!".
All state machines are installed as part of bundles. The bundle in this chapter
will be called tutorial:
$ ride bundle new bundles/tutorial
This will create the following folder structure and two text files:
.
└── bundles
  └── tutorial
      ├── manifest.json
      ├── migrations
      ├── resources
      └── sources
          └── Tutorial.lf
The manifest.json file indicates the name, the version and the dependencies
of a bundle. When installing a bundle on a robot which already has a bundle
with the same name, it will only be updated if the version is the same or newer.
The Tutorial.lf file will contain the code we create in this tutorial. Let
us start by creating a single state which will print a message to the log.
Tutorial {
  port Success true
  entry @{
    printf("Hello World!")
  }@
}
This creates a root state Tutorial. The root must always have the same name
as the file it is contained in. Our state has one exit port called Success.
After the port's name we put a condition, which defines when the execution
should exit through that port. In this case, the condition is simply true,
so it will immediately exit successfully.
Finally, we attach a Lua script block (between @{...}@) onto the entry
action. Whenever the Tutorial state is entered, a "Hello World!" message
will be printed to the core log.
Compiling our bundle
Next we have to compile our bundle.
$ ride bundle compile bundles/tutorial
This will produce our Tutorial bundle tutorial.bundle in the bundles folder which we can install on the robot.
Installing the bundle
To install our tutorial bundle, you must first log-in using:
$ ride login SERVER
SERVER is the same address you would use to connect to Desk, like
robot.franka.de.
Note
When connecting through the shop floor or with the ip address of the robot make sure to ignore all TLS errors and treat them as warnings using the -i option, e.g.: ride -i login SERVER
$ ride bundle install bundles/tutorial.bundle
You should be able now to see the tutorial bundle listed when using:
$ ride bundle list
This will list you all installed bundle as well as the way how it got installed.
CloudBundle indicates that is was received trough the Franka World.
LocalBundle indicates that it got installed through ride-cli.
Running our state machine
Now we can start our new state machine.
The message "Hello World!" will be printed in the core log. To see it we
can run ride log in a separate terminal
$ ride log -l -d
Then we start our newly installed state machine with:
$ ride execution start -t Tutorial
Where -t stands for tracing. You should obtain an output similar to this
one:
$ ride execution start -t Tutorial
Waiting for 5 seconds to initiate motion, press CTRL-C to abort
Waiting for 4 seconds to initiate motion, press CTRL-C to abort
Waiting for 3 seconds to initiate motion, press CTRL-C to abort
Waiting for 2 seconds to initiate motion, press CTRL-C to abort
Waiting for 1 seconds to initiate motion, press CTRL-C to abort
Execution (25) of Tutorial [FINISHED]
Tutorial [RESULT]:
{ error_cause: nil; }
You should see "Hello World!" printed in the log:
$ ride log -l -d
[ INFO] 2022-08-30 12:02:49.451 UTC core.evaluation.script: Hello World!